
Zoom-Ready Beauty Setup: Better Light and a Simple Preview
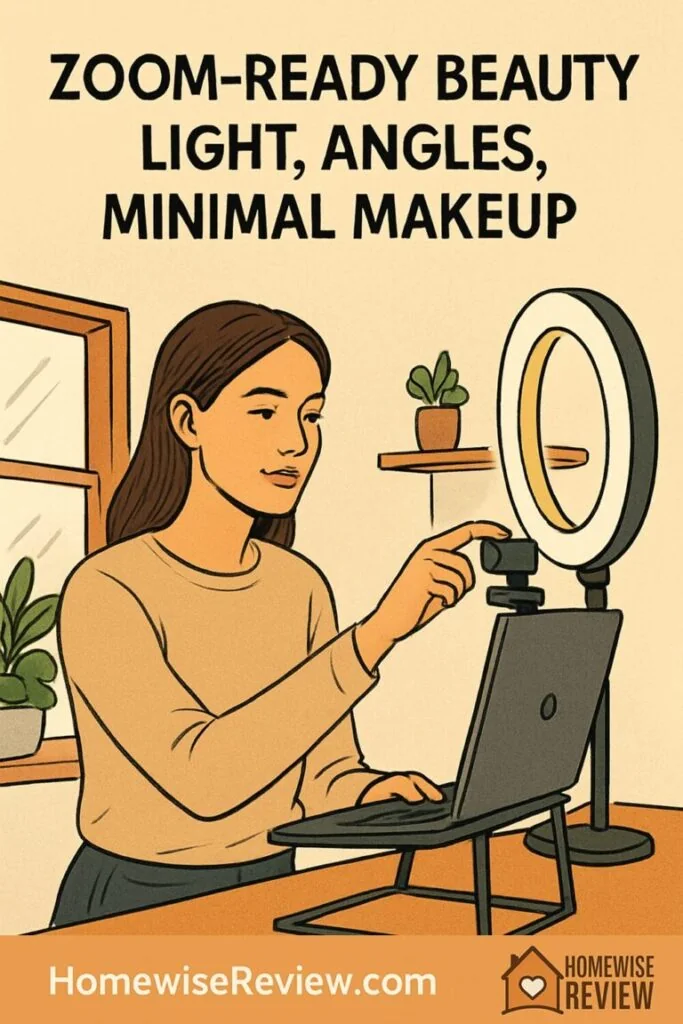
Fastest useful setup: open the meeting preview, face a window or put one soft light in front of you, move a bright window out of the background if possible, and place the camera near eye level. Check that your face is visible and that the picture looks reasonably like you. Makeup is optional. A little spot coverage or shine control can help if you want it, but lighting and camera exposure usually deserve the first minute.
Use a three-minute preview, not a fixed “flattering” formula
- Check the light. A bright window behind you can turn your face into a silhouette. Logitech’s video-room guidance recommends avoiding strong lights and exterior windows behind the participant. Turn toward a window or add a soft front lamp, then look at the preview.
- Check the frame. Raise a laptop on stable books or use an adjustable stand so the camera is near eye height. Keep your head and shoulders comfortably in frame. There is no universal one-inch height or 18-to-24-inch distance; adjust for your camera’s field of view and your comfort.
- Check exposure and color. If your face looks too dark or washed out, change the light first. Zoom’s current desktop app offers Adjust for low light and portrait lighting, while Microsoft Teams offers an Adjust brightness video setting. Preview any software correction; a filter can change the image in ways you may not want.
- Check the background and sound. Remove visual distractions within the frame, then test whether your mic is clear. A good audio connection matters more to a meeting than a perfect blush shade.
Direct sun can create harsh highlights; a sheer curtain can soften it. If the only window is behind you, lower the blind or add front light. A white wall can bounce a lamp, but keep the lamp and paper or fabric safely away from heat. LED placement is a practical experiment: move it until the face is readable and glasses show less glare. Do not prescribe one lamp angle or Kelvin setting for every skin tone; cameras, room light, display calibration and auto white balance differ.
When a gear upgrade makes sense
Try a window or existing lamp first. If light still varies during calls, the Lume Cube Panel Mini is a small adjustable LED panel; check its mount, battery and desk placement before buying. If your camera struggles in high-contrast or low-light rooms, the Logitech Brio 4K is a separate webcam option with manufacturer-described HDR and automatic light correction. Neither product guarantees flattering color or replaces a preview check. These existing shopping links lead to name searches, so confirm the exact model.
Choose one light source before buying a second
| What you have | First adjustment | When a purchase may help |
|---|---|---|
| Window in front | Move or diffuse it if it creates bright patches. | Consider a lamp only if daylight changes through your working hours. |
| Window behind | Close a blind, rotate the desk or add front light. | A controllable LED can help if room layout cannot change. |
| One desk lamp | Point it toward a light wall or diffuse its beam safely. | A dimmable panel may offer easier brightness control. |
| Glasses glare | Move the lamp to a different height or side and recheck the preview. | A flexible light mount helps if a fixed ring reflects in both lenses. |
A ring light is convenient for some desks but can make a circular reflection in glasses. One small panel may be simpler than two stands. Lume Cube’s Panel Mini is an adjustable bi-color LED panel, not a guaranteed phone light or an upgrade every caller needs. Logitech describes Brio 4K’s RightLight 3 and HDR as adapting to different lighting; the benefit on your call still depends on your app and room. Check compatibility and positioning before paying for a camera.
If you want makeup, keep the choice personal and optional
A camera preview can make a shiny patch or a color mismatch more noticeable. Try blotting before adding powder, and decide whether you want a light base, a dab of concealer, brow definition, lip color or none of those. Apply only what serves your preference. No foundation finish, blush placement or color family is universally better for a particular age or skin tone. If a shade looks odd on camera, change the light or white balance and inspect it in ordinary daylight before buying more makeup.
For glasses, adjust the light and angle before adding heavier eye makeup. For skin texture, diffuse harsh light rather than assuming that matte foundation is the answer. For any complexion, check whether the camera is clipping bright areas or flattening shadows. Use the meeting preview as evidence for your room, rather than a fixed 4000K or 5600K rule keyed to appearance.
If you already use a tint, our tinted-sunscreen guide is one product option; use enough sunscreen for protection and do not treat a tiny cosmetic layer as full SPF coverage. See lightweight foundations if you want base coverage, and the makeup base builder for a broader routine. Setting sprays and non-sticky lip glosses answer separate shopping questions. None is required for a professional call.
Fix the specific preview problem
Face is dark and the window is bright
Reduce or move the backlight, add a front lamp, then recheck. Zoom’s Adjust for low light can brighten video, but it does not physically change where light falls. A camera with HDR may help high contrast, yet the room should be improved first where possible.
Face is too bright or colors look strange
Reduce a nearby light or move farther from it. Check whether the camera or app has an automatic exposure, white-balance or appearance effect and compare the preview with it on and off. Do not assign a “correct” light temperature from skin tone alone.
Glasses have bright reflections
Shift the light to one side or higher, dim it if possible, and look at the preview after each move. Keep the screen comfortable to read. Avoid tilting glasses into an uncomfortable position merely for the camera.
Background blur cuts into hair or accessories
Try more even front light, simplify the background, or turn the effect off. Blur and virtual backgrounds are software options; a real tidy corner often behaves more consistently.
Frequently Asked Questions
Do I need a ring light to look clear on Zoom?
No. A window or existing lamp in front of you may be enough. Use the preview at your usual call time before deciding that a light purchase would solve a real problem.
What camera height should I use?
Start near eye level with head and shoulders comfortably framed. Adjust the stand and your distance for your device and posture; no single height or distance is universally flattering.
Should light color temperature change by skin tone?
There is no reliable one-number rule for skin tone. Mix of daylight and room bulbs, camera white balance and display settings all affect the preview. Adjust a tunable lamp while looking at your own camera feed.
Sources and limits
Checked September 23, 2026: Logitech video-room lighting guidance; Zoom’s video enhancement instructions; Microsoft Teams video settings; official pages for the Lume Cube Panel Mini and Logitech Brio 4K. The setup steps are practical options, not measured outcomes on every webcam or claims that a product changes anyone’s appearance. We have not tested the two devices or timed a makeup routine.
As an Amazon Associate, we earn from qualifying purchases made through links on our site.